hair transplant in Itan gives you the chance to regain your confidence and once again enjoy a healthy, full head of natural hair. Today’s methods such as forehead reduction in Iran are much more effective, less painful, and require much less recovery time than in the past. However, there are still things you need to know to ensure a successful hair transplant recovery process.
1. Downtime matters after hair transplant in Iran
First and foremost, make sure you have plenty of downtime. The first 24 hours are very important – you should not do anything during this period. After the first day or more, you can resume some of your normal activities, but your doctor may recommend limiting your strenuous activities for longer periods of time.
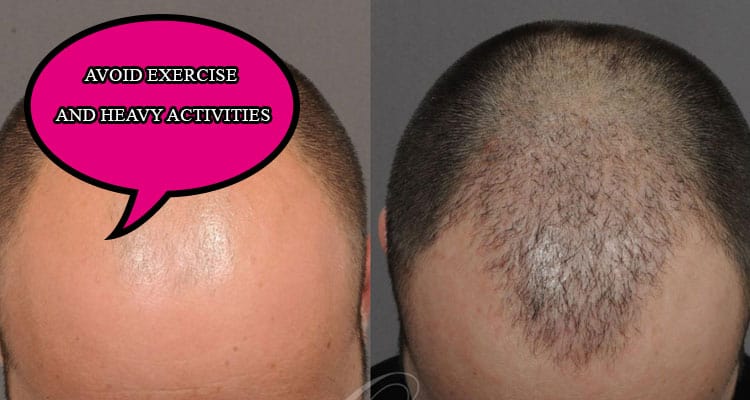
2. Avoid exercise and heavy activities
While the first 72 hours of recovery after a “hair transplant in Iran” are most critical, you need to relax for a while. Most doctors recommend that you avoid exercise and other strenuous activities for about two weeks after a hair transplant in Iran.
The point is to increasing blood flow to the scalp too much during this time, so you’ll want to refrain from certain activities and even physical motions, such as:
1.Bend at the waist (bend at the knee instead)
2.Running or jogging
3.Sit up or push up
Any activity that raises blood pressure in the scalp or leads to heavy sweating should be avoided during this period and also after forehead reduction in Iran
3. Do not wash yet
You should not wash your hair for the first 72 hours after the hair transplant in Iran. This will give your scalp time to heal. After this period, you can gently wash your hair.
However, do not apply the shampoo directly to your head. Pour a few drops of shampoo into a cup, add water, shake it to mix and lather it up, then pour it over your scalp and then rinse with clean water. In the first week after surgery, keep your head away from direct spray of showerhead.
4. Avoid the headwear hair transplant in Iran
Yes, it is normal to want to wear a hat, but you should avoid it for the first seven days or so. After this time, you can wear a loose hat, but avoid anything that fits tightly. After five days, you can wear any kind of headwear you want.
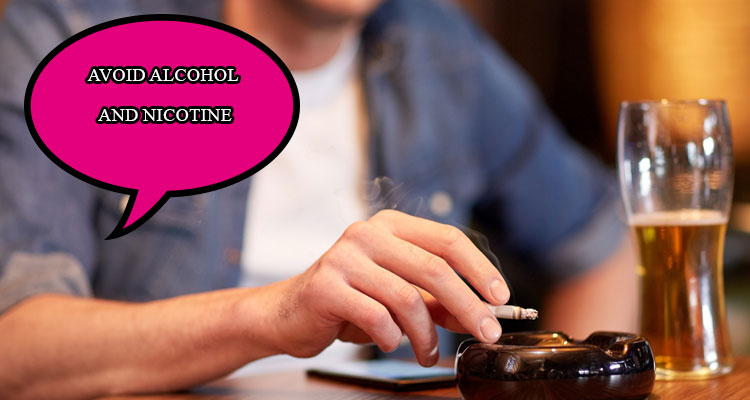
5. Alcohol and nicotine
Alcohol dilutes the blood, so it is important to avoid it for the first five days or so after surgery. For nicotine, because of the effect of nicotine on blood pressure and reduction of blood flow, you should not smoke for about four weeks before and after this surgery and similar surgeries such as forehead reduction in Iran.
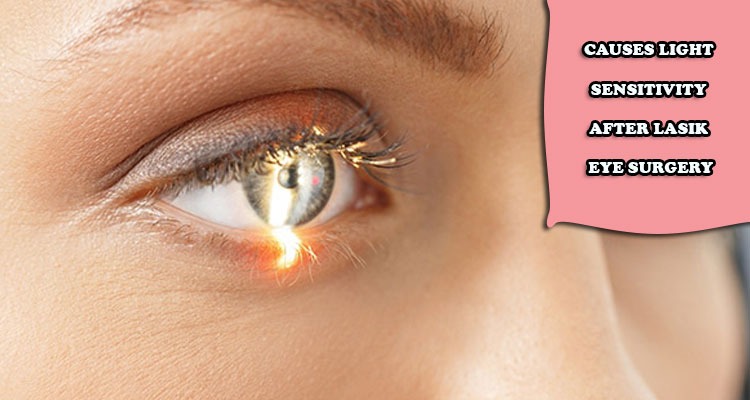
6. Scratching / itching and sunlight
Your scalp will itch during the healing process. Do not scratch it. You need to allow the scabs to form and the healing process to proceed naturally.
For this reason, keep your scalp out of direct sunlight for about two weeks after this surgery and forehead reduction in Iran.
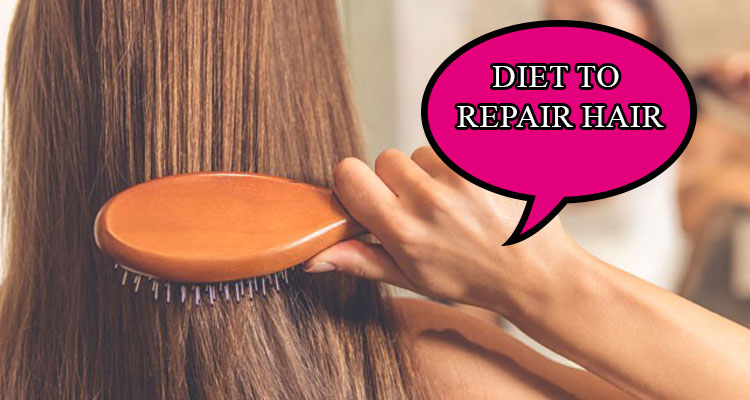
Foods to help repair more hair
High-fat, high-protein, high-salt, high-starch foods can cause hair loss (also associated with high dairy intake). Adjusting the consumption of some foods to accelerate hair growth does not mean not consuming them.
The important thing is to maintain moderation in food consumption. We need protein for healthy hair. Moderation only means enjoying steak with vegetables and other sources of protein such as seafood, eggs, chicken and beans and nuts which can be also useful for forehead reduction surgery.
To maintain a balanced diet, you should use protein, fat, salt and sugar in proportion to your body weight. A 75 kg person needs 54 grams of protein per day. The protein in 350 grams of steak is much more than the protein the body needs in a day.
Diet to repair hair transplant in Iran
Overcoming hair loss can simply mean consuming a balanced amount of protein (described above). A proper diet to repair hair or accelerate hair growth should include foods rich in antioxidants and foods rich in iron. Vitamin D and omega-3 fatty acids also help hair growth.
Vitamins A, C and E can be found in fruits and vegetables, as well as blueberries, cherries, mangoes, carrots, squash and peppers.
Red meat and eggs are excellent sources of protein and iron. Other sources of iron include spinach, broccoli, cabbage and lentils. (Iron deficiency or anemia is a common cause of hair loss, especially among women)
Salmon is also an excellent source of protein, vitamin D and omega-3s, which should be included in a proper hair restoration diet. If you cannot get these fatty acids by eating salmon or other fish such as salmon and herring, you should eat avocado or pumpkin seeds.
Swelling and medication
For the first 4 to 5 days, your scalp may feel itchy, but this is because it is healing. You will also experience swelling and pain on the second and third days, which is normal but will subside. You may reduce the pain with anti-inflammatory drugs and ice packs that are placed on your forehead, not the graft site.
Many people need prescribed painkillers in the first two nights after this surgery and forehead reduction in Iran. In addition, you may need to take paracetamol (or Co-dydramol) every 6 hours and / or ibuprofen every 8 hours for the first 24 to 48 hours.
Take your first dose of antibiotics with your evening meal. These medications relieve and control your pain. However, you should avoid aspirin. Your doctor may prescribe additional painkillers for hair transplant and forehead reduction in Iran.
Shock loss hair transplant in Iran
If your hair starts to fall out about 2 to 3 weeks after surgery, do not worry. No need to worry because that’s just your new hair growing and pushing out the grafts.
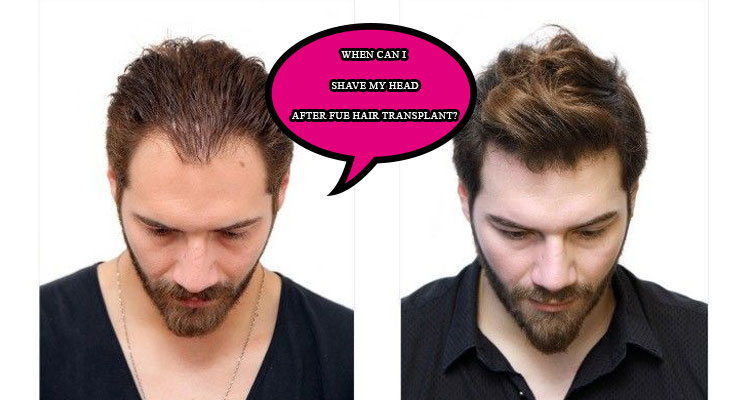
When can I shave my head after FUE hair transplant?
Natural hair growth is usually noticeable four months after hair transplantation, and most patients experience growth between five and twelve months. After a FUE hair transplant, you may shave your head, but we recommend that you wait 8 to 10 days before doing so. The grafts should be secure at this stage and you should be able to cut your hair short without damaging them or compromising your recovery.
However, there are some key points to consider before making your first post-surgery trip to the barber or hair salon. After healing, the operated sites should not be wet shaved for at least three months. In addition, in the first haircut, you should be careful not to use sharp shaving tools, but rather scissors.
Patients who have had FUE hair transplant can usually have their hair cut short, such as number 1 or 2 cut. This is because FUE hair transplant only leaves some tiny dot scars on the scalp when performed by a skilled and trusted surgeon. These scars are usually less than one-millimeter-long and are difficult to see with the naked eye.
Am I allowed to go to gym after a hair transplant in Iran?
Exercise very soon after hair transplantation may have a negative effect on the result. Sweating, straining and hitting the head are also potential risks of strenuous activity. Sweating makes grafts susceptible to infection. When you apply pressure during exercise, making it more likely for the transplanted grafts to pop out.
That being said, after about two weeks, the newly implanted grafts are fully rooted, meaning you can start exercising after 14 days. However, you should be careful and return to it slowly.
How do I sleep after a hair transplant in Iran?
Because your scalp is sensitive and your hair grafts are delicate, the place where you sleep for the first 7 to 10 days after the hair transplant in Iran is very important. It also takes time for your implanted hair to settle and for the incisions to heal. It also determines how much swelling you will experience.
Although sleeping for a few days after a hair transplant can be challenging, keep in mind that any discomfort will not last long.
For the first few days, you should avoid doing things that prevent new grafts from firmly setting in your scalp, such as tossing and turning or rubbing your new hairline on a pillow. It would be better if you slept upright on your back, in a lifted position about a 45-degree angle. You can also utilize a trip pillow for your neck, as it will back your head and protect the hair grafts.
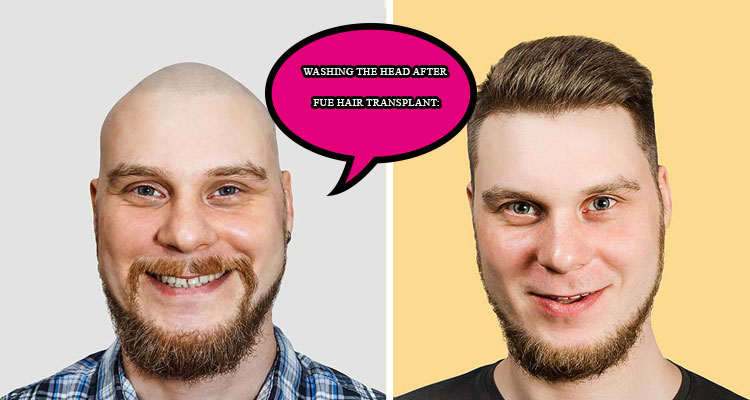
Washing the head after FUE hair transplant:
There is no need to wash the head in the first 4 days after the FUE hair transplant. However, you can wash the rest of your body from the day after hair transplant and forehead reduction in Iran.
You will start washing your head 4 days after the operation. That is, the next day of the surgery is day 1.
For example, if you were to have surgery on Monday, the first day you would wash your head would be Friday.
After the first washing day, continue washing your head once or twice a day until the scabs are gone and the grafted area is clean. This may take 10-15 days of washing after the first wash.
First week of washing (starting after 4 days after surgery, between days 4th and 12th after transplantation):
During the first week, just tap on the grafted areas (gentle touching) while washing and shampooing the head. You do not apply any rubbing or massaging. You can wash the donor area as you wish, which means you can also shampoo or massage the donor area.
Without wetting your head beforehand, apply lotion on the grafted area, apply a thick layer of lotion there, then wait for about 10 minutes. It is okay to apply some lotion on the donor areas, but there is no real need for it.
10 minutes later, apply the shampoo on top of the lotioned transplanted areas and perform some gentle tapping to combine the shampoo with the lotion there. Also, you may pour the shampoo over the donor sites
You can immediately start washing your head with lukewarm water and low pressure. Mildness is as important as possible in the first week of head washing. In addition, when washing and shampooing your scalp, tap only on the grafted areas with your fingertips.
After some rinsing, add shampoo once or twice and continue rinsing with water to remove the remnants of the lotion and finally rinse with plenty of water.
You are allowed to touch donor area and your face with a towel and dry it. However, do not touch the grafted areas with a towel and let it dry on its own.
Second week of washing (between the twelfth and twentieth days after transplant):
Everything is just like the first week of washing your head. First, apply the lotion to the grafted area, wait 10 minutes, then apply the shampoo to the lotioned area and to the donor area. Start washing your head with low pressure lukewarm water.
This week, in addition to tapping the grafted areas, you can also start very smooth fingertip rubbing and massaging during the washing process.
Shampoo and rinse 2-3 times with gentle fingertip massaging and rinse profoundly with water at the end. Again, do not use any towel to dry the grafted area this week, leave it dry by itself.
During the 2nd week of the washing, the assembled scabs start to fall and the area becomes cleaner and neater. Once the hair transplant in Iran area becomes clean, you can quit using the lotion and continue with your favorite shampoo to wash your head.
Third week of washing and after (beginning of the twentieth day after transplant):
You can return to your normal washing habits, that is, wash your head as you wish, basically you can return to the same life style that you had been leading before the procedure and also using your favorite shampoo.
In addition, you can perform a massage with your fingertips and hand palms normally while washing your head. Any scabs left at this point, let them alone and they will disappear themselves spontaneously a few days later.
Do not try to remove any scab forcefully with your nails or through strict rubbing after hair transplant in Iran.